Resin Bound Driveway Installation: A Step-By-Step Guide
- Blogs
Table of Contents
A resin-bound driveway is a low-maintenance, visually pleasing and versatile home surface choice. This blog post will walk you through the processes necessary to install a resin bound driveway properly.
What Exactly is Resin Bound?
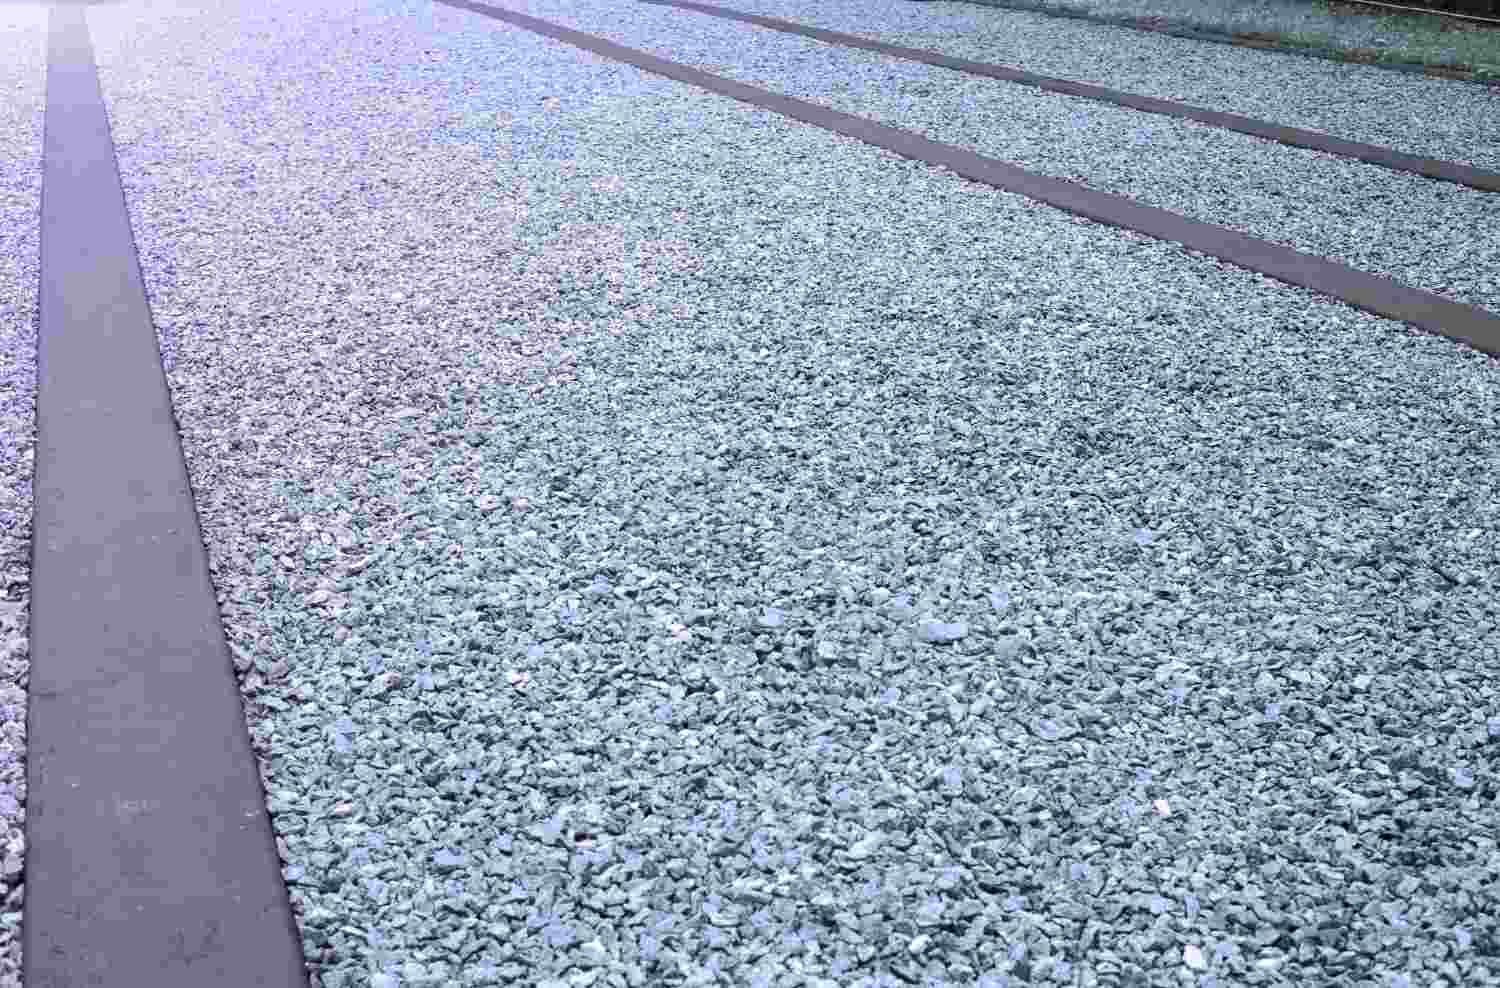
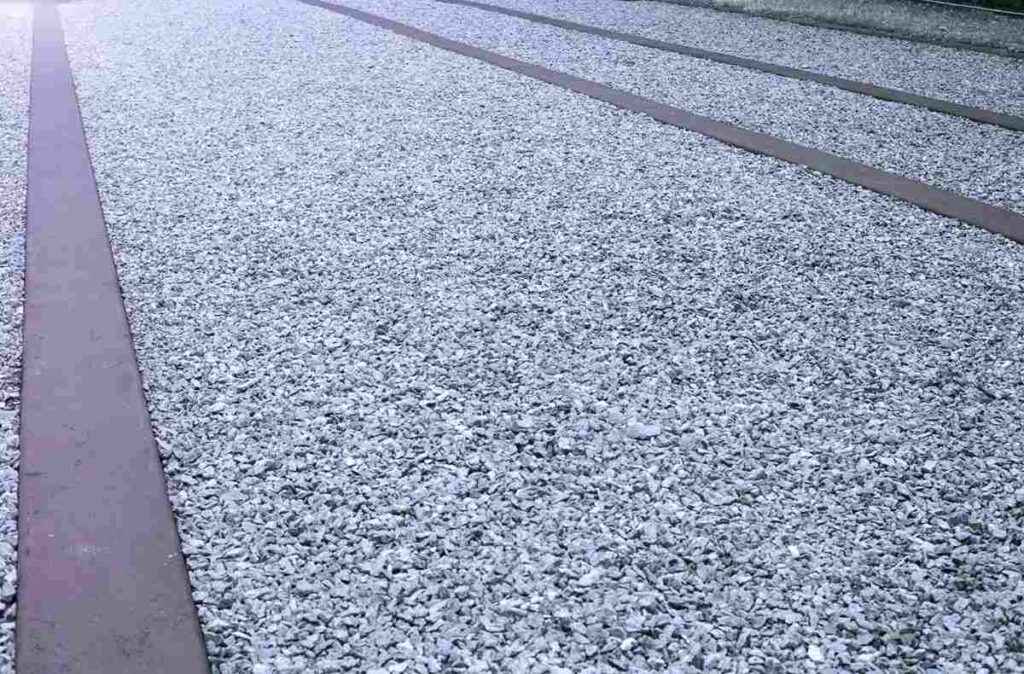
A resin bound is a mixture of resin and dried aggregates. This combination is applied onto a base that can be of a new or old concrete surface, asphalt or any other suitable material. This mixture is trowelled on to produce a flat and smooth finish.
Applications:
Resin bound has various applications, such as:
- Driveways
- Patios
- Gardens
- Parks
- Pathways
- Parking Areas
- Concourses
- Bridges
- Terraces
- Cycle Paths
Resin Bound Driveways installation
Installing a resin bound driveway involves the following steps:
Step 1: Pre-Installation Inspections
Before you begin the installation procedure, you should do the following pre-installation checks:
Surface Suitability: Check to see if the surface is clean and free of water and contaminants.
Base Stability: Check the stability of the base; it must be capable of withstanding the load.
Damage: Examine the surface for any damage, such as cracks.
Substrate Temperature: To limit the risk of delamination, the temperature of the surface should be around 3°C.
Other Conditions: Check the ground temperature and relative humidity, as these can all have an impact on the installation procedure. If the humidity level rises above 80%, you may need to postpone the job.
Remeasurement: Remeasure the work area to verify you have all of the necessary items.
Ensure the Cleanliness of Tools: Make certain that the equipment is clean.
Recheck the Edges: Check that all the edges of the work area are taped to avoid resin stains.

Step 2: Resin Mixing
The mixing of resin is crucial for a proper installation. It is critical to follow these steps carefully:
- For mixing, use a helical-bladed and high-torque mixer for 10-20 seconds at a slow speed.
- Stir the mixture for about one minute to make a homogenous mixture.
Step 3: Mixing Resin, Sand and Dried Aggregates
You’ll need a three-person team for this step:
- Fill a mixer with a bag of 2-5mm aggregates (25kg) and one bag of 1-3mm aggregates (25kg), and then add pre-mix resin.
- Add two more bags of 2-5mm aggregates (25kg) and slowly mix a bag of sand in the mixture.
- Add the bag of C52 sand gradually.
Important Considerations
- Before mixing, make sure the aggregates are not wet.
- Mix appropriately so that no material is left uncoated.
- Keep aggregates out of direct sunlight.
Step 4: Move the Materials to the Work Area
This phase involves the following steps:
- The mixture is transported to the work areas.
- A small amount of the mixture is spread over the surface, ensuring even distribution.
- At this point, the installer inspects the previously trowelled surface from all angles to correct any inconsistencies.
Step 5: Trowelling the Material
This stage is handled by the troweller and involves the following steps:
- Plan the laying route and use chalk to grid the space in squares.
- Employ a screed bar to level the surface.
- In the trowelling procedure, keep cleaning the trowel with spirit regularly.
- To eliminate gaps, pack aggregates into the margins.
- Knit the mixture together to form a compacted, level surface.
- Trowel the aggregates until they stop moving and solidify in their places.
- Level the surface to get a smooth finish.
- For slip resistance, sprinkle a light and even layer of shattered glass.


Important Considerations:
Cut a portion into the trowelled surface to see if the mix is compact and knitted. This is also an excellent approach to ensure that the trowelling depth is consistent and correct.
The Bottom Line
It is important to follow the instructions discussed above in order to ensure a consistent and exact installation. The success of a resin driveway is dependent on accuracy and consistency. The finished product should be smooth, flat, and visually appealing.
FAQs
You will need the following tools and supplies for your Resin Bound project:
- Dried aggregates
- Resin (UV-resistant)
- A mixer
- Wooden lute
- Resin trowel
- Clean shovel
- Whisk paddle
In temperatures below 15°C, a resin bound catalyst can be introduced to accelerate the curing. The catalyst should be mixed thoroughly to ensure uniform curing.
The most appropriate bases for resin bound are the following:
- Concrete
- Asphalt
- Macadam
Table of Contents
Related Posts

Bring your vision to life.