How to Lay a Gravel Driveway? | Step-By-Step Guide
Blogs
Table of Contents
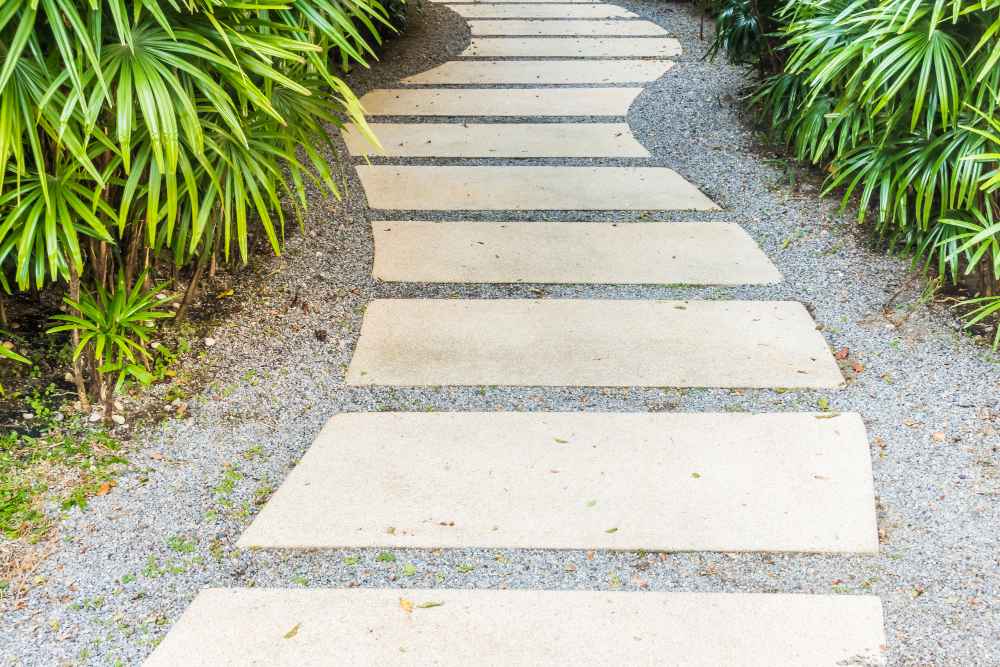
A gravel driveway is one of the most suitable options to improve the appearance of your property’s exterior space with an attractive touch. Different colours, shapes, and sizes of gravel can be combined to enhance the curb appeal of your property with added uniqueness.
This guide includes the types of gravel and advantages of gravel driveways. It also provides information about the method of laying a gravel driveway along with cleaning and maintenance tips for it.
What Are the Types of Gravels?
There are many gravel types and sizes that can be used for driveways. The following are some of the types of hard-wearing gravel stones which can be used for driveways:
Basalt
Quartz
Granite
Flint Products, etc.
Advantages of Gravel Driveway
The following are some of the advantages of laying a gravel driveway outside your property:
It is a versatile material that suits the property of every age and style.
It improves the overall appearance of your property’s driveway surface.
It reduces the risk of flooding by allowing efficient drainage of water and avoiding the formation of water pools over the surface.
It adds a well-composed look to your property’s external area.
Method of Laying a Gravel Driveway
The process of laying a gravel driveway involves the following steps:
Step 1: Select the type, colour, and size of gravel chipping for your driveway surface.
Step 2: Mark out the path of your driveway with the help of landscape stakes and strings.
Step 3: Take measurements of your driveway’s dimensions to calculate the amount of required gravel.
Step 4: Decide on the type of edging for your gravel driveway, such as solid block borders or medium—to large-sized boulders and rocky stones, to create a barrier between the gravel driveway and surrounding areas.
Step 5: Remove the existing driveway’s base so that a firm ground surface can be exposed, which is present underneath.
Step 6: Prepare the area by removing all the debris, dust, turf, or topsoil.
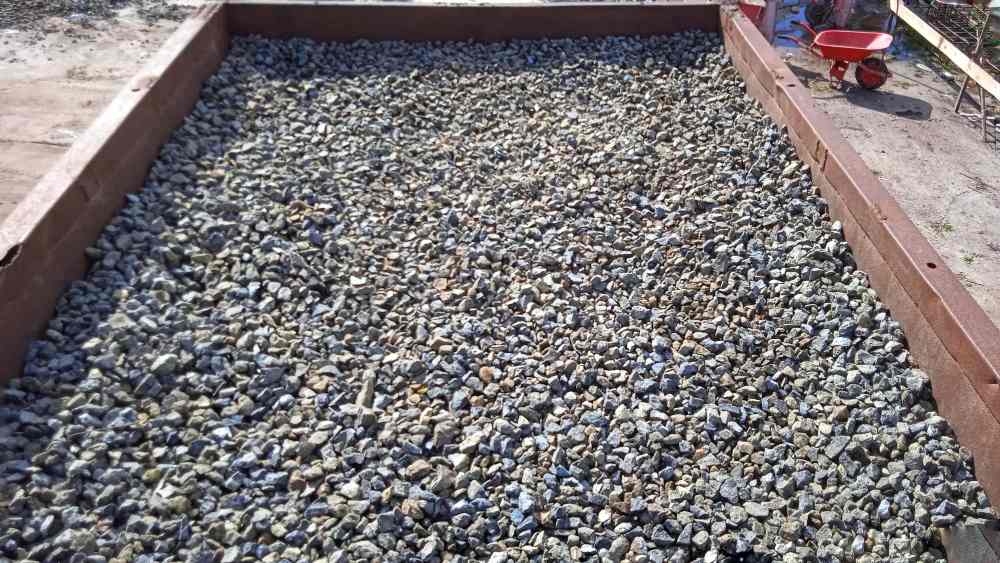
Step 7: Dig the entire area to a depth of 50mm to 200mm to form the sub-base and lay gravel.
Step 8: Use MOT Type 1 or a roller for softer and larger driveways to create a compact and flat base for your driveway.
Step 9: Lay the sub-base for your gravel driveway by applying the MOT Type 1 layer to ensure the stability of the entire surface.
Step 10: Install a layer of weed prevention membrane to avoid unwanted weed growth and allow efficient water drainage.
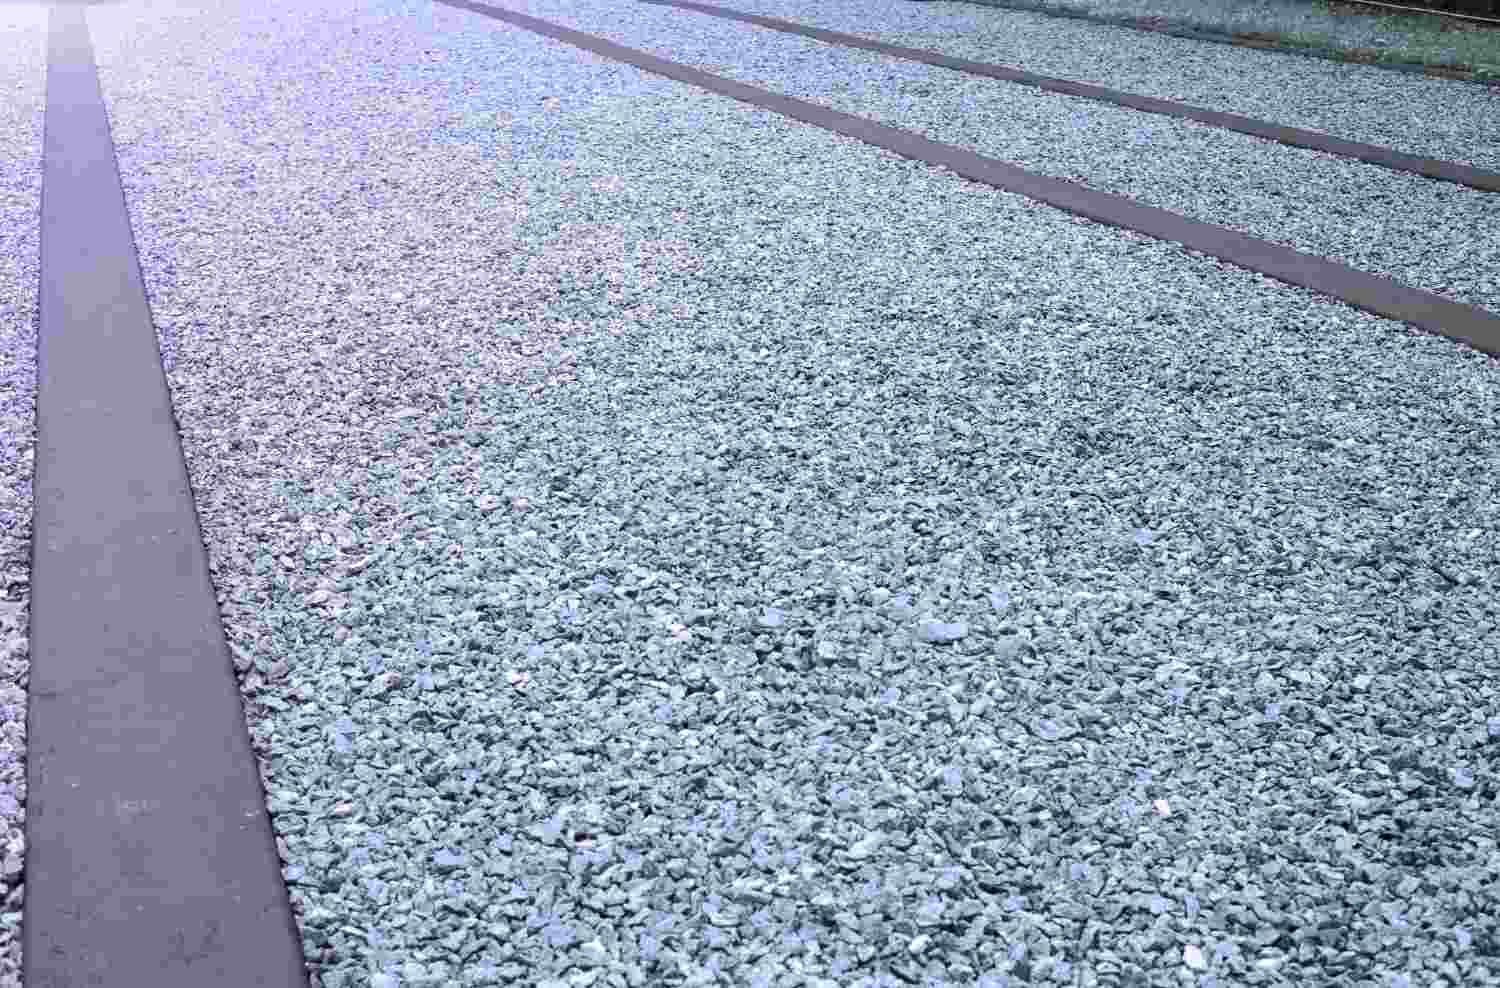
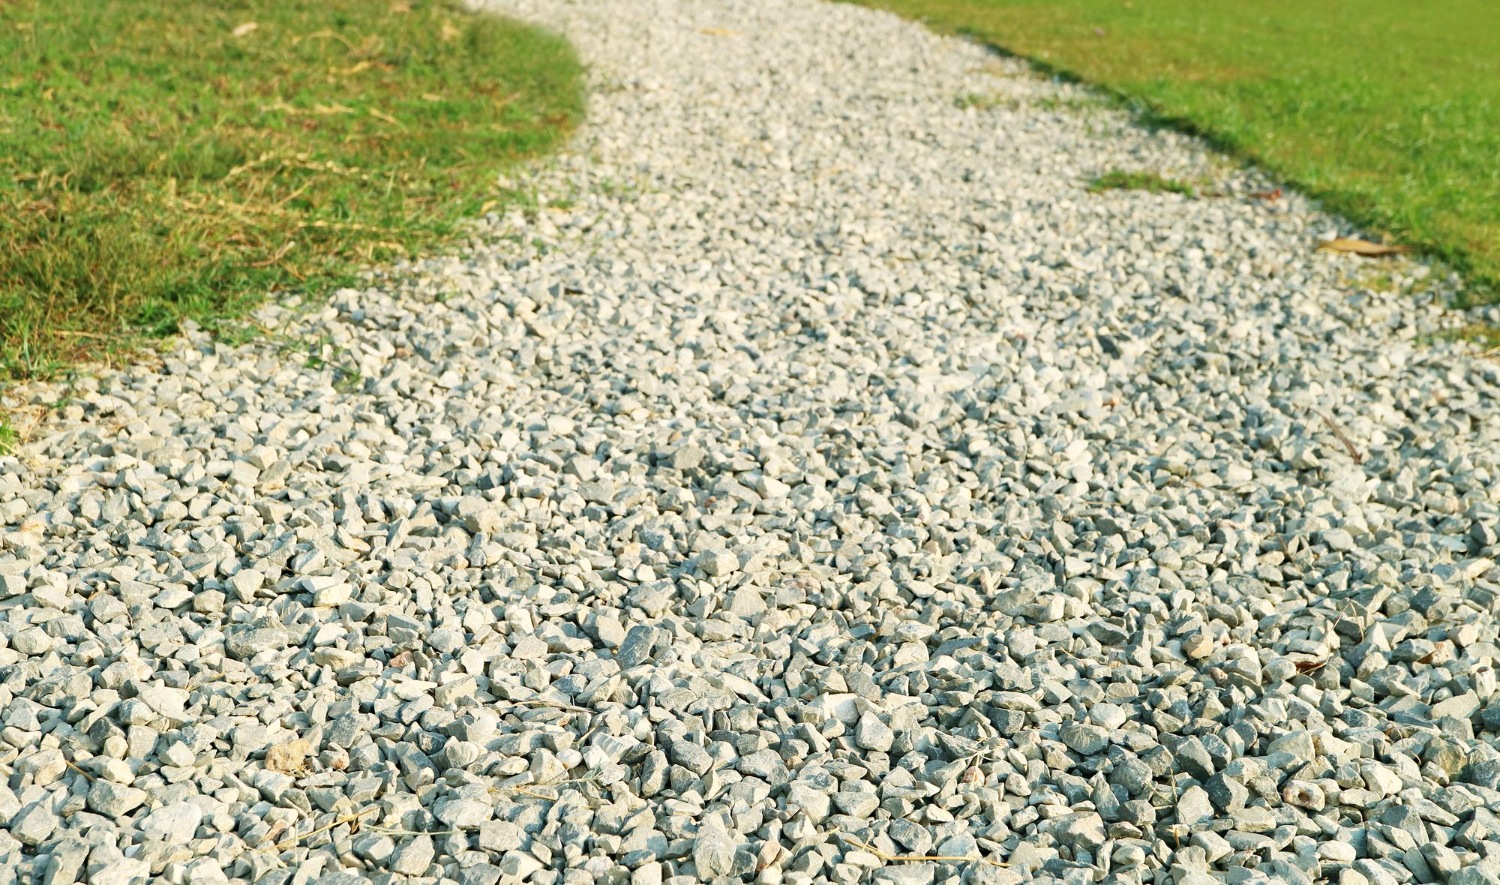
Step 11: Add the selected gravel chipping and spread it evenly across the whole surface.
Cleaning & Maintenance Tips for Gravel Driveway
It is essential to clean and maintain the gravel driveways so they keep their fresh appearance and last longer. The following are some of the tips which help you keep your gravel driveway clean and well-maintained:
You should rake your gravel driveway’s surface occasionally, specifically during the autumn months, to remove debris, twigs, and fallen leaves.
You should remove the unwanted weeds by wearing gardening gloves on your hands and spraying weed killer on the impacted areas of your driveway.
You can add more gravel to the driveway areas, which may become sparse after years of usage and general wear and tear.